Wouldn’t You Like To Make This Type of Bread in 5 Minutes?
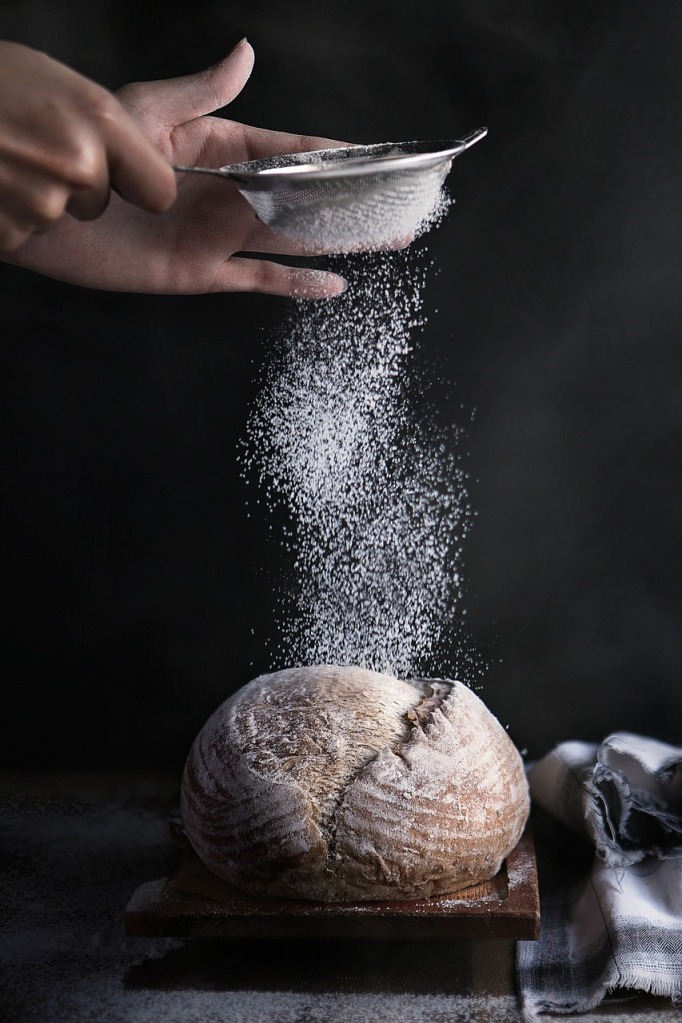
There’s nothing better than the smell of freshly baked bread. The smell of fresh bread brightens my day. However, with a busy schedule, filled with work and family obligations, there’s not much time in the week to bake fresh bread. If you want to make bread, then several steps which include fermenting, kneading, as well as several proofing sessions need to be completed before the bread can be baked. That’s not always feasible for the home cook who’s wants fresh bread with his or her meal.
So, what can be done to fix this problem? The answer is 5 minute bread. In the book “The New Artisan Bread in Five Minutes a Day,” written by Jeff Hertzberg and Zoe Francois explains fresh bread can be prepared from the refrigerated dough batch for up to two weeks. THAT’S 14 DAYS OF FRESH BREAD! All you have to do is prepare a large batch of wet dough, allow it to rise for 2 hours at room temperature, then pop it in the refrigerator. When you want some freshly bake bread, simply cut a piece of the dough you want to bake for the day and that’s it.
When I first heard of this idea, I thought who would consider using old dough to prepare fresh bread? Wouldn’t it go bad within a few days? Wouldn’t you would have to make another batch? The answer is no. The flavor of the bread improves over the two weeks since the dough develops sourdough notes as each day passes. If it’s stored in a container, then refrigerated, its freshness is maintained for up to two weeks, as long as the dough mixture doesn’t contain eggs. This is an awesome baking strategy for someone who wants fresh bread as their leisure without having to shop at the local bakery each day. For only a few cents, you can have fresh bread each day with the 5 minute bread method.
What Is 5 Minute Bread?
As mentioned earlier, 5 minute bread is technique, developed by Hertzberg and Francois, to have fresh bread every day without the added time and expense. Simply mix enough dough to prepare several loaves and store it in the refrigerator until you’re ready to bake it. When you’re ready to use the dough, take a piece of it from the container, shape it into a loaf, then let it rest for 20 minutes or more and bake. There’s no kneading involved, and you should only spend 20 to 40 seconds shaping the cut dough you want to bake. While you’re enjoying your fresh bread, leave the remaining dough mixture in the refrigerator until you’re ready to use it.
How Is 5 Minute Bread Different From The Traditional Bread?
5 minute dough is a pre-mixed, pre-risen, high-moisture dough that keeps well in the refrigerator. The high moisture dough is prepared with adequate water to produce a wet dough that’s long-lived when stored in the refrigerator or the freezer. Unlike the classic technique, kneading this wet dough is not necessary since it will add little value to the overall product. Therefore, if you don’t know how to knead dough or have an electric mixer with a dough hook, no worries, just mix it with a wooden spoon and skip the kneading. Everything can be measured and mixed in 1 container and stored to be used later. Since this high moisture can be stored over weeks, the sourdough notes develop as the dough ages.
Let’s compare the classic technique to the 5 minute bread technique.
Table 1. Classic vs. 5 Minute Technique
| Classic Bread (1 Day of Baking) | 5 Minute Bread (Day 1) | 5 Minute Bread (Day 2-14) |
|---|---|---|
| Measuring and Scaling the Ingredients | Measuring and Scaling the Ingredients | Shaping the Dough and let sit for 20 minutes or more |
| Mixing and Kneading the Dough | Mixing the Dough | Baking the Dough |
| Allow the Dough to Ferment | Allow the Dough to Ferment | |
| Punching Down the Dough | ||
| Portion the Dough | ||
| Rounding the Dough Portions | ||
| Shaping the Dough | ||
| Proofing | ||
| Baking the Dough | ||
| Storing the Bread |
As you can see from the chart above, the classic bread technique requires ONE FULL DAY of baking to produce 1 loaf of bread, whereas the 5 minute bread technique cuts the production steps by 70 percent and yields several loaves of bread over two weeks or more if the dough is frozen.
Advantages of 5 Minute Bread
- You don’t need to prepare fresh dough every time you want fresh bread.
- Starter is not needed. The dough mixture becomes the starter as the dough ages and a portion can be used to prepare the next dough batch.
- It doesn’t matter how you mix wet and dry ingredients to prepare the high-moisture dough. Just mix the dough until it has a uniform texture without any dry lumps of flour.
- Proofing the dough is not required.
- The dough isn’t kneaded.
HOW DO I MAKE 5 MINUTE BREAD?
Below, I’ll show you what ingredients, equipment and tools you’ll need to make 5 minute bread to have fresh bread every day.
What Ingredients Do I Need to Make 5 Minute Bread?
There are only 4 ingredients to make 5 minute bread. Flour, water, yeast, and salt are the only ingredients needed to get fresh bread every day.
Flour
There are so many Types of Flour and Uses for Baking. However, for this recipe, it’s best to use all purpose flour since it has a medium protein amount. Low protein flours, like pastry flour, cake flour, or rye flour have too little protein to build the gluten strands necessary for no knead bread.
Why is All-Purpose Flour Best for 5 Minute Bread?
All purpose flour is a staple flour commonly used to prepare most baking products. It’s protein content is approximately 10 percent and has adequate gluten, a protein necessary to trap the carbon dioxide developed during the fermentation process and a protein needed to help raise the dough. The classic method stresses the need to develop gluten through kneading. However, when enough water is added to the dough, the water increases gluten’s elasticity thus building and strengthening its network.
If all-purpose flour is not your favorite flour to bake with, then you can use other flours, like bread flours, whole-wheat flours, and others. Just remember, if you use low protein flours, then you’ll have to add flour with high protein content to build the gluten network. Contrary, if you use flours with high protein content, then you’ll have to adjust the amount of flour to water ratio in the recipe to prevent producing a dry, dense dough that won’t store well when refrigerated. My only recommendation is to stay away from low protein flours, like cake flours and pastry flours since they are rarely successful at making high-moisture dough. See the table below that summarizes the types of flour, its composition, and common uses for baking.
Table 2. Types of Flour, Composition and Common Uses for Baking
| TYPE OF FLOUR | % PROTEIN | COMMON USES FOR BAKING |
| Cake | 7 | Soft Cakes |
| Pastry | 8 | Quick Breads (ex. biscuits) |
| All-Purpose | 10 | General Baking |
| Bread | 12 | Yeast Breads |
| Whole-Wheat | 13 | Quick or Yeast Breads |
| High-Gluten | 41 | Increase protein content in soft flours |
If health conditions are required, then gluten free flours can be used for this recipe. Check with your local primary physician if you have celiac disease or you are allergic or sensitive to gluten. The 5 minute bread is a master recipe that can be used and adjusted as needed for the everyday baker.
Water
With the classic method, I usually measure the temperature of the water with a thermometer. However, for the 5 minute bread, the pre-mixed batch uses enough yeast to ferment and raise the dough to where lukewarm water or even cold water will not stop the yeast from doing its job. Therefore, you can put away the thermometer and simply add water that feels just a little warm to touch. The lukewarm water will work for this recipe. Also, cold tap water will work, but it will take much longer for the initial rise to occur. If you’re in no hurry, then add cold water to the dough and allow it to sit for 8 hours or more in the refrigerator. The bread will taste the same as if you used warm water.
Active Dry Yeast
You can use any yeast or yeast brand you want for the 5 minute bread recipe. Types of yeast like granulated, active dry, instant, quick-rise, bread machine, or cake yeast will work just fine. When it’s time to bake bread, I prefer active dry yeast since it can be purchased in bulk from the local wholesale store and stored in the refrigerator or freezer for longevity. If you bake frequently, as expected using the 5 minute bread, then buy yeast in bulk rather than packets since it’s more economical and helps save money on your grocery bill.
Salt
Salt is needed for this recipe because it adds flavor to the bread product and strengthens the gluten network. Gluten is a protein network found in flour and determines the overall shape of the finished baked product. Read Gluten Meaning | What Is It, Side Effects and Intolerance article to understand the impact of gluten on baked goods and its health effects. However, if health conditions require it, then you can decrease the amount of salt in the recipe. Don’t worry, the taste will be the same.
This recipe used coarsely ground salt. If you plan to use finely ground salt or sea salt, make sure to adjust for its grind.
What Equipment Do I Need to Make 5 Minute Bread?
Weight Scale
When measuring and the ingredients, it’s common to use measuring spoons and scoops. However, the goal of 5 minute bread to prepare fresh bread in a short period of time. Using a balance to directly weigh all the ingredients into the same container has a few advantages.
- Unlike measuring cups and spoons, the balance provides an accurate measurement for each ingredient.
- Lowers the amount of dishes used to prepare the dough.
- Lowers the time spent cleaning up afterwards.
This is my preferred method when preparing 5 minute bread. Give it try. You may never go back to using measuring cups and spoons to bake bread.
Plastic container with a top
You’ll need a plastic container with a top to maintain the dough’s freshness and prevent overflow of the dough mixture when stored in the refrigerator or freezer for weeks. As the dough rises during the fermentation step, make sure to NOT punch down the dough. Remember, this is a no knead bread recipe and the proofing step is cut from the process. Therefore, the dough will need all the gas it has trapped during the fermentation stage to raise and expand the dough during baking.
Spoon, Dough Whisk, or Electric Mixer with Dough Hook
Prior to measuring the ingredients, decide how you plan to mix the dough. If a spoon or dough whisk will be used, everything can be weighed in the same container that’ll be used for storage. However, if you plan to use an electric mixer, simply use the mixing bowl as your primary bowl to weigh all your ingredients. Yes, even the water.
I find using an electric mixer is easiest for me since the ingredients have to be combined until the dough has a uniform texture, and no clumps of flour can be seen. Transferring the dough from the mixing bowl to the storage container is a challenge without a dough scraper. Therefore, the dough scrapper is the best tool to use if you plan to prepare the dough using an electric mixer.
Baking Stone, Cast Iron, or Dutch Oven with Top
Baking stones, cast iron skillets and Dutch ovens (enameled or not) are the some of the best cooking utensils for baking bread. I’ve used all three to bake bread and pizza cast iron skillets are the best in my opinion. Pizza cast iron skillets have several advantages such as:
- Used to bake pizza and various bread types (except for baguettes).
- Can be cleaned, unlike baking stones (no matter what cast iron enthusiast might say).
- Cast iron properties allow the skillet to hold heat very well and bake the bread consistently throughout the loaf.
Choose the baking tools that works for you. Cookie sheets, clay bakers, and cast-iron pots will work just as good as the skillets mentioned above.
How to Prevent Your 5 Minute Bread from Sticking to the Pizza Peel or Parchment Paper
The worst thing to ever happen when baking bread is when the dough sticks to the bottom of the pizza peel or when parchment paper sticks to the bottom of the baked bread loaf. This happened to me on more than one occasion. It’s a hassle and quite disappointing to drop the dough when transferring into a hot oven or make large cuts into the bread trying to remove the paper stuck to the bottom of the bread loaf. These troubles will discourage a beginning baker.
Placing flour or cornmeal on the pizza peel prior to transferring the dough will prevent the dough from sticking to the pan or skillet when baking. If you don’t have a pizza peel, a wood cutting board will do just fine. Parchment paper can be an alternative to flour or cornmeal, especially if you’re preparing baguettes. However, make sure you use the correct paper. Don’t use pastry parchment paper, butcher paper, or waxed paper. These products will smoke and stick to the bottom of the baked bread loaf.
In order to make 5 minute bread, here is a recipe from the book “The New Artisan Bread in Five Minutes a Day” to get you started.
Table 3. 5 Minute Bread Recipe
| Amount | Ingredient | ||
|---|---|---|---|
| 3 Cups (680 g) | Lukewarm Water (100 °F or 38 °C) | ||
| 1 Tbs (10 g) | Granulated Yeast | ||
| 1 to 1 1/2 Tbs (17 to 25 g) | Kosher Salt | ||
| 6 1/2 Cups (910 g) | All Purpose Flour | ||
| Cornmeal or parchment paper, pizza peel to prevent dough from sticking | |||
Directions for Mixing Dough
- In a mixing bowl, add lukewarm water, yeast, salt, and flour.
- Use a mixing spoon or mixer to combine the ingredients until a consistent and uniform dough forms.
- Transfer the dough mixture to a plastic container using a dough scrapper, cover with a top leaving a small opening to gas to escape.
- Place on the countertop for 2 hours. Store in the refrigerator until ready for use.
Directions for Baking Artisan Free Form Loaf
- Place the cast iron skillet, baking sheet, or baking stone onto the top shelf in the oven. Add an empty baking pan or roasting pan to the bottom shelf in the oven.
- Warm the oven to 400 °F (204 °C).
- Sprinkle some flour on top of the dough mixture.
- Grab a ball of dough and cut a section of the dough using kitchen scissors or a serrated knife.
- Place onto a floured surface (i.e., countertop or cutting board) or silicone mat and shape the dough into ball for no more than 20 to 40 seconds.
- Place the shaped dough onto the pizza peel covered with cornmeal, flour or parchment paper.
- Allow the dough to rise for 20 minutes or more.
- Sprinkle some flour on top of the dough. Then, using a serrated knife, make 2-4 slits in the dough.
- Wash the surface of the dough with melted butter or egg wash.
- Bake for 35 minutes or until done.
- Allow the bread to cool before serving.
Want to Learn More?
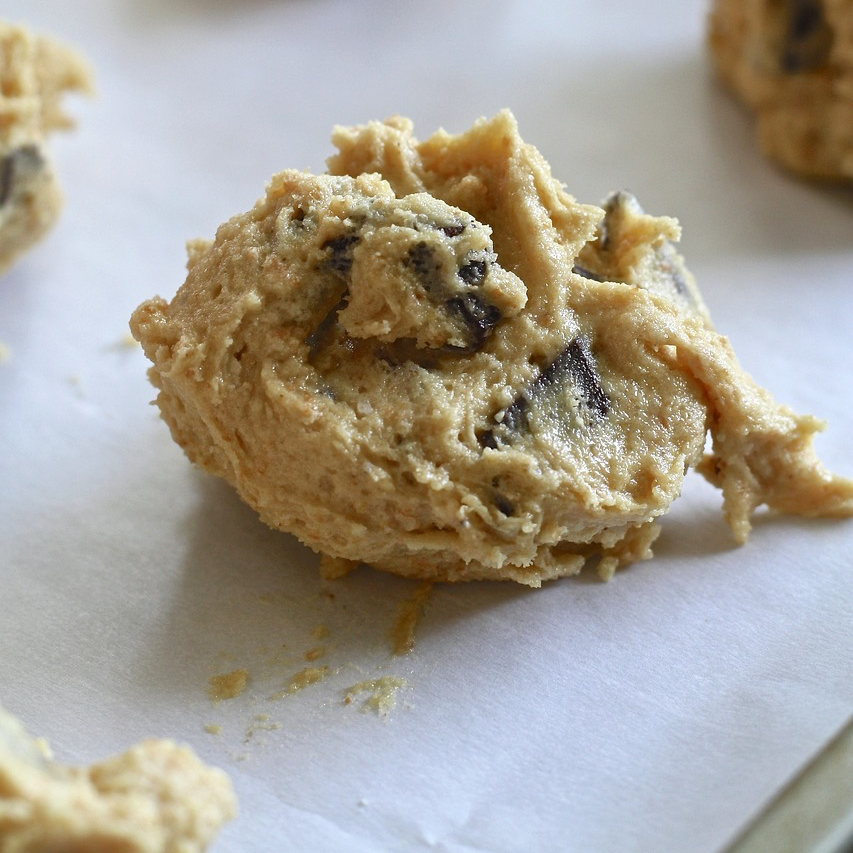
- Easy Homemade Butterscotch Cookie Recipe
- Beginner Friendly Chocolate Cake Pop Recipe
- Secret to Making Toll House Chocolate Chip Cookies
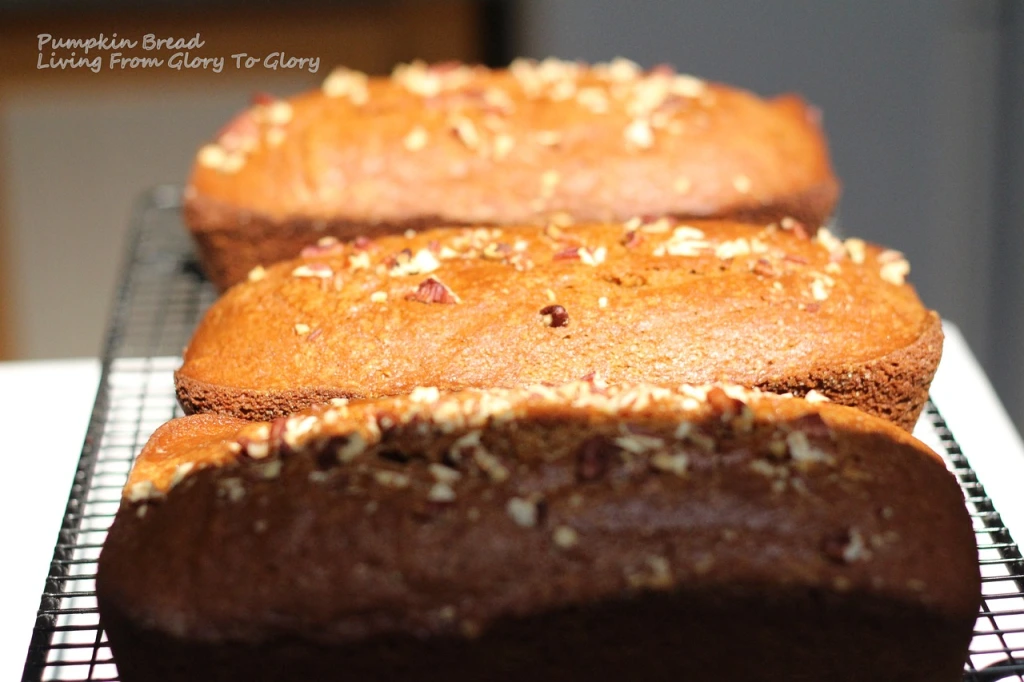
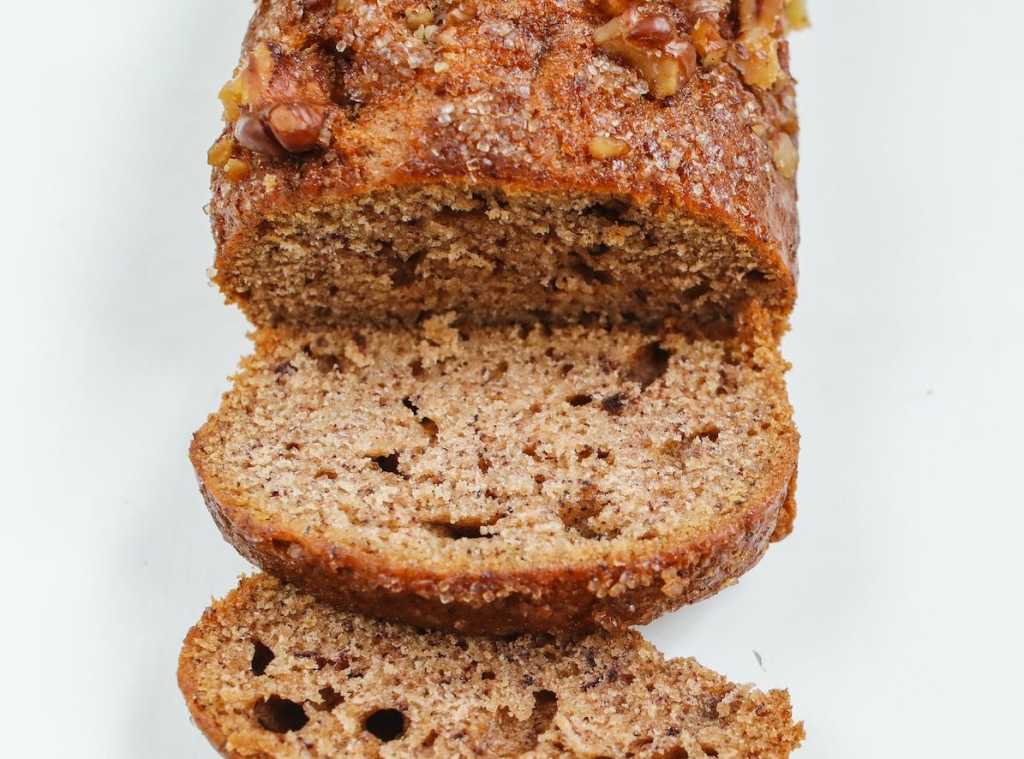
- Banana Pumpkin Spice Bread
- Classic and Easy Banana Nut Bread Loaf
Is there anything else you’d like to know about baking and wish it was included in this article? Let us know by leaving a comment below.
Subscribe for more posts like this
References
Hertzberg, J. M.D & Francois, Z (2013). The New Artisan Bread in Five Minutes a Day. First Edition. Thomas Dunne Books.
Labensky, S.R. & Hause, A.M (2003). S. Helba and V.R. Anthony (Eds.) Oncooking: A Textbook of Culinary Fundamentals. Third Edition. Pearson Education.
About Gabby…
Gabby is a hobbyist who enjoys baking for family and friends. She created this blog to provide a comprehensive guide to baking for the everyday baker. Follow her on Reddit, Pinterest, Tumblr, Facebook, or become a member of the Blabby Gabby community to get the latest information where she will discuss fundamentals, recipes, historical facts or other content related to baking quick breads, yeast breads and pastries.
Disclosure: Please note that some of the links in the article are affiliate links. Other links are internal links that connect you to in-depth content, within the blog, that relate to the topic of discussion. I’ll earn a commission if you decide to use one of the affiliate links listed in the article for your personal use. My goal is to provide you with quality content and only recommend the products and services I’ve personally used, researched and stand behind. If you use one of the affiliate links, then the company will compensate me. This compensation helps me run this blog and keep my in-depth content free of charge for readers and/or subscribers.