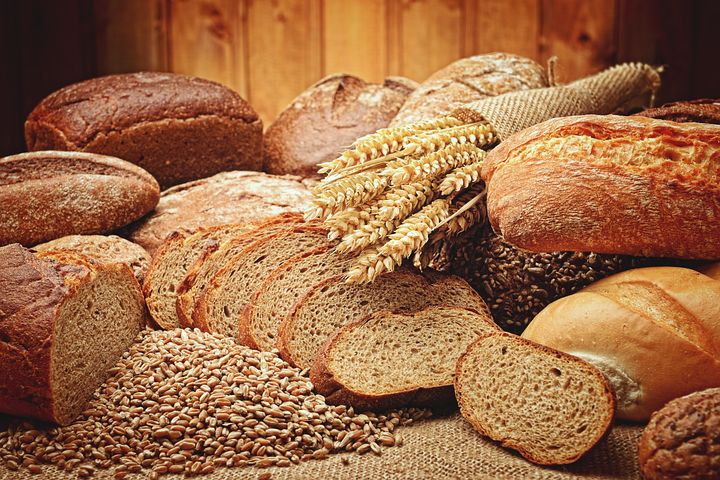
How to Prepare Yeast Breads?
Welcome to the Part III of the Baking Yeast Bread series. Here, I will discuss the second half of the production stages for yeast bread.
Just to recap, preparing the dough requires the first 5 steps before rounding and shaping the portioned dough. If you want to get an in-depth discussion on these stages, check out Part II: How to Prepare Yeast Bread Dough.
The first 5 Yeast Bread Production Stages:
- Measuring and Scaling the Ingredients
- Mixing and Kneading the Dough
- Allow the Dough to Ferment
- Punching Down the Dough
- Portion the Dough
Now, let’s learn the other 5 stages involved to produce yeast bread.
Stage 6:
Now that the dough has been cut into the desired dough portions, shape the dough into smooth round balls. This stage is known as rounding the dough portions. You may ask, “Why is this stage important?” Rounding the dough portions allows the gluten to stretch and produce a smooth texture on the outer layer of the dough. Rounding also help trap the carbon dioxide gas, produced during fermentation, and give an even rise during baking. Without rounding, the dough would rise unevenly during baking and have a lumpy and rough outer layer when baked.
Stage 7:
Shaping the dough is follows rounding the dough portions. Note: rounded dough portions are easier to shape than lumpy and uneven dough. No matter how big the portioned dough, it must be rounded, then shaped before baking. The dough can be shaped into a variety of forms: large or small loaves, free-form or country-styled or individual dinner rolls. (Labensky, 2003)
Stage 8:
Yeah! You’ve made it this far in the yeast dough preparation! Now that the dough has been shaped, the main step before proofing your dough into the oven is proofing. Proofing is like the fermentation process, in which the dough completes the final rise before baking. Add a glaze or wash to the shaped dough, then proof in a temperature between 95 °F and 115 °F (35 °C and 46 °C) in humid conditions. The humidity will prevent the dough from drying or cracking during the final rise. You’ll know when proofing is complete when the shaped dough doubles in size and barely springs back when touched. Proofing can also be performed using a proofing box. Click here to check out this awesome kitchen tool.
“Bake It ‘till You Make It”
Tip 1: Egg wash can be added before or after proofing. However, avoid adding too much wash since it can burn during baking. Also, if you add egg wash after proofing, you may deflate the dough.
Stage 9:
Baking the Yeast Bread. Now it’s time to place your yeast dough into the oven. However, before you do that, you might want to coat your dough with a wash, make incisions, or inject steam at the start and throughout the baking process. Washes are used to alter the appearance of the outer layer of bread. The most common wash is called egg wash, which is comprised of a whole egg and water or milk. Sugar, seeds (ex. Poppy seeds), oats and flavorings can also be added to the washes. The dough can also be dusted with flour as a topping prior to baking.
Here are some washes you can use for yeast bread recipes.
Table 1. Wash Recipes and Their Uses for Yeast Breads
| Wash Type | Use |
|---|---|
| Whole and water | Shine and color |
| Whole egg and milk | Shine and color with a soft crust |
| Egg white and water | Shine with a firm crust |
| Water | Crisp crust |
| Milk or heavy cream | Color with a soft crust |
| Flour | Texture and contrast |
You can skip the wash and simply inject steam while baking your product. To create steam, spray, or mist water into the oven several times while baking or place ice cubes on the oven floor or add hot water to a pan and place into the oven. Either method will build steam in the oven to produce a crisp crust on the yeast bread.
Incisions or slashes can be formed in the dough after proofing. Use a paring knife or razor to make slashes along the width of the dough to allow for rise and after the crust has formed.
Yeast dough undergoes several chemical and physical changes occur during baking. When the yeast dough is placed into a hot oven, the dough immediately rises. This process is known as oven spring. As the dough continues to rise, trapped gases expand, raising the dough, while the moisture from the baking ingredients evaporates. Read Principles of baking for an in-depth discussion on the chemical and physical process of baking. Also, the high oven temperature causes the yeast to die and hardens the gluten and develops a brown crust on the outer bread layer.
As the smell of the yeast bread fills your kitchen, how do you known when it’s done? By check the moisture level of the bread. Check the bottom of the yeast bread. If its damp or heavy, then more baking time is required. Tap on its bottom and listen for a hollow sound? That hollow sound indicates that moisture has evaporated and only air remains inside the product. Also, check the crust. Press on the crust of the bread to listen for a crisp cackling sound.
Tip 2: Convection ovens are my go-to method for baking since it offers even baking. These ovens use a fan to help circulate hot air throughout the oven cavity. Although, its’ recommended that you should avoid convection ovens for baked products like cakes, quick breads, and pastries, these ovens are great help when baking yeast breads. Yeast breads need the steam or hot air to raise the dough during baking and form a crispy crust. The hot air supplied through convection ovens gives beginner bakers ease `knowing their baked goods will be successful since it removes the risk of uneven baking and reduces troubleshooting.
Stage 10:
Yeast bread doesn’t need preservatives, and therefore doesn’t need refrigeration after baking. Refrigeration stales the product. So, if you’re making a yeast bread loaf, allow the loaf to cool completely before slicing. Once cooled, then store at room temperature or freeze for long term storage. Also, don’t wrap the bread with a crispy crust (i.e., Italian or French bread) since wrapping causes the bread to lose its crispiness.
Summary: Part III: How to Prepare Yeast Bread Dough
- Yeast bread should be produced in 10 stages for desired results. This article covers the last 5 production stages for yeast bread.
- Stage 6: Rounding dough portions permits the dough to rise evenly during baking and prevents a lumpy and rough outer layer when baked.
- Stage 7: Shape the rounded dough into desired forms for baking.
- Stage 8: Proofing the shaped dough to encourage the final rise before baking. Make sure to add egg wash prior to proofing to prevent deflating.
- Stage 9: Washes, incisions, and steam are used to control the appearance of the dough (i.e., crust layer and dough rise) during baking.
- Stage 10: Yeast bread should be completely cooled prior to storing. Make sure to store yeast bread loaves unwrapped at room temperature and away from drafts. Although frozen yeast bread loafs can be stored for long periods of time, refrigeration will stale the product.
Want to Learn More?
- Easy Homemade Butterscotch Cookie Recipe
- Beginner Friendly Chocolate Cake Pop Recipe
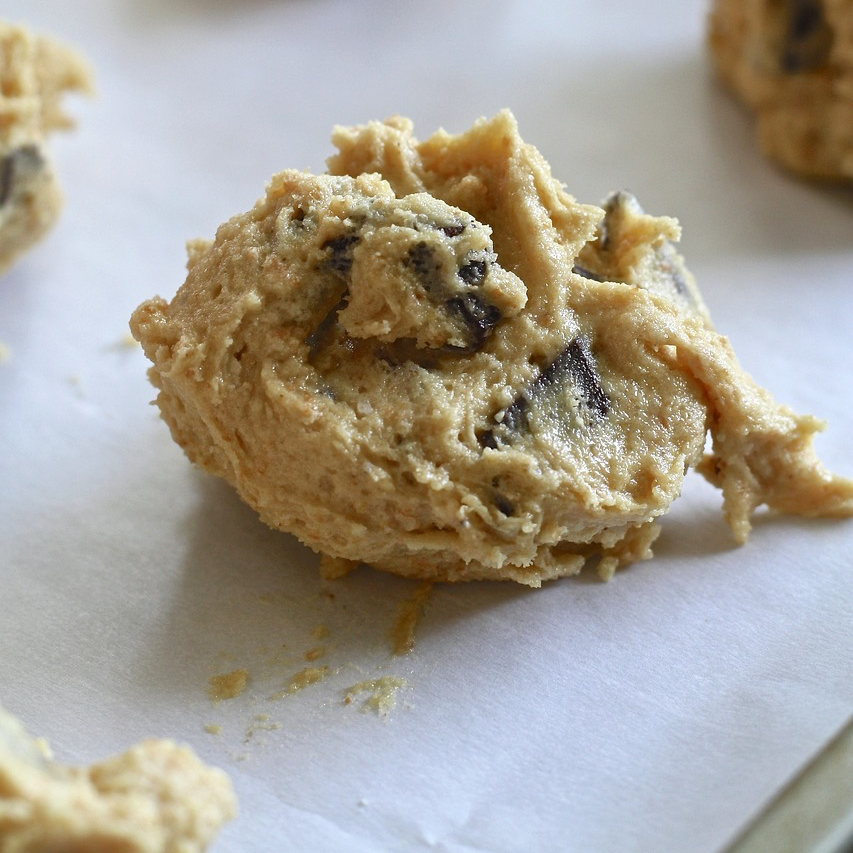
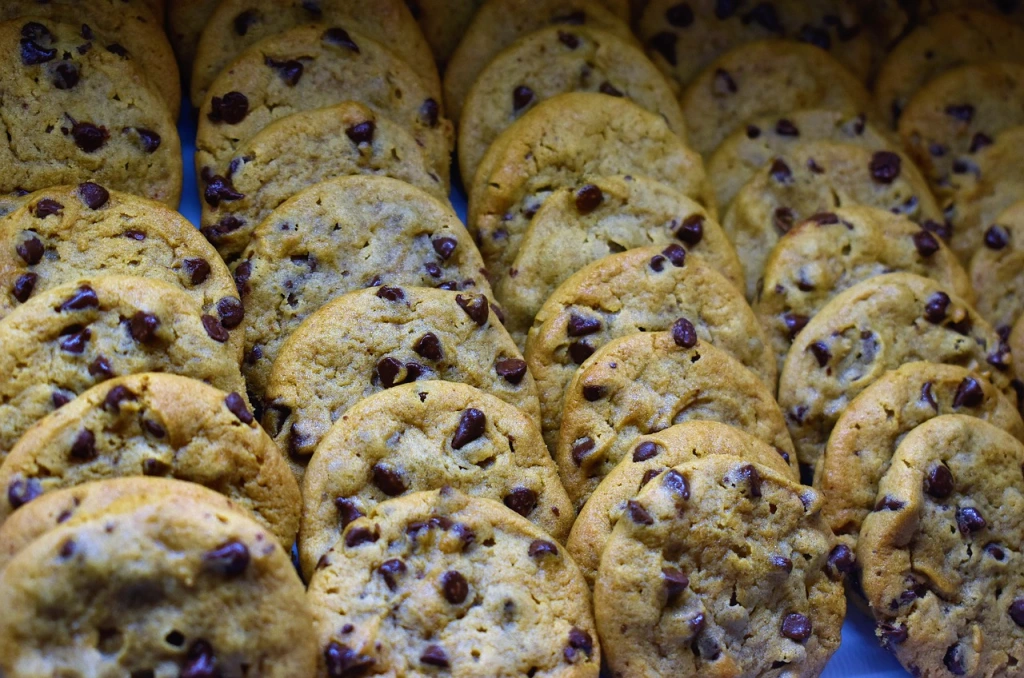
- Secret to Making Toll House Chocolate Chip Cookies
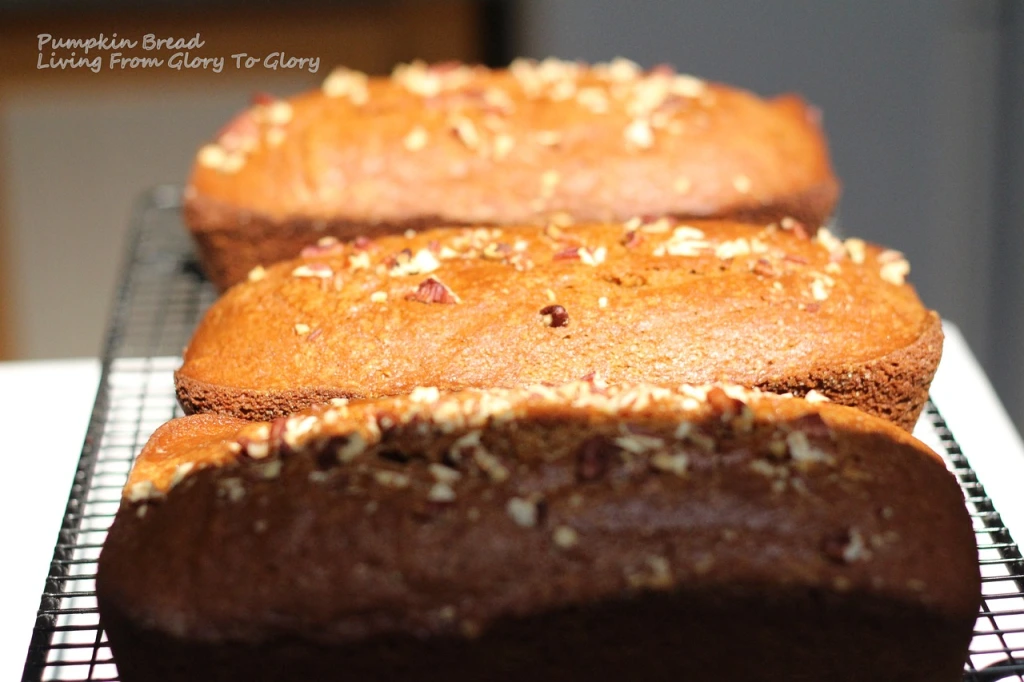
- Banana Pumpkin Spice Bread
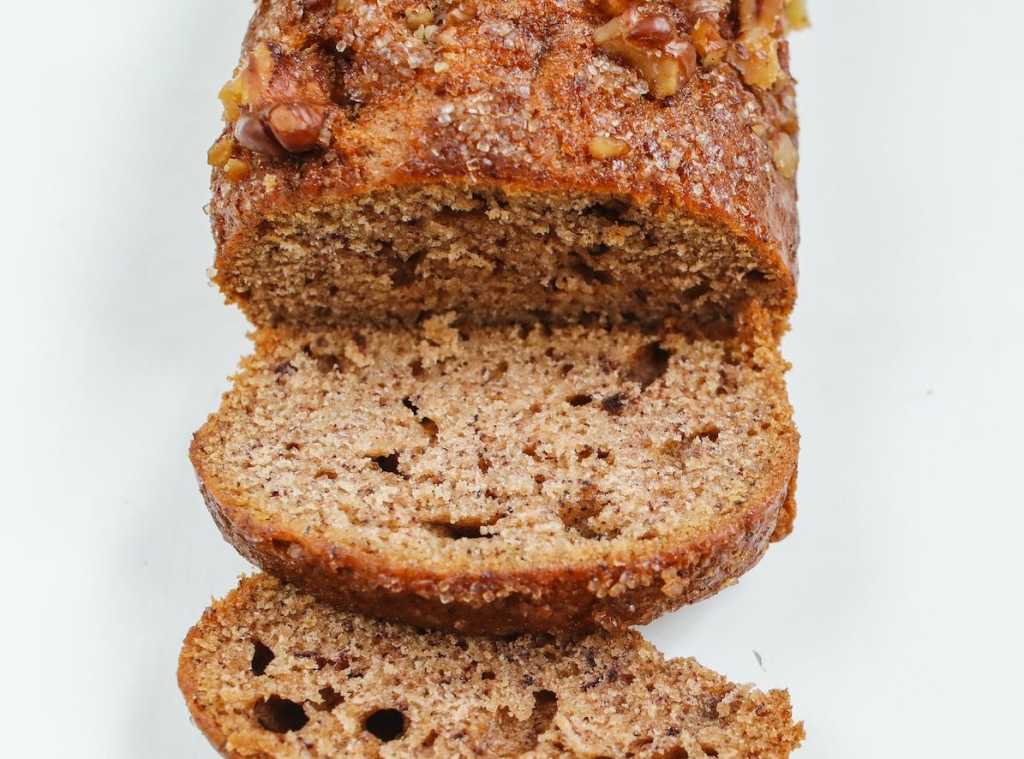
- Classic and Easy Banana Nut Bread Loaf
Is there anything else you’d like to know about baking and wish it was included in this article? Let us know by leaving a comment below.
Subscribe for more posts like this
References:
Labensky, S.R. & Hause, A.M (2003). Yeast Breads. In S. Helba and V.R. Anthony (Eds.) Oncooking: A Textbook of Culinary Fundamentals. Third Edition. Pearson Education
About Gabby…
Gabby is a hobbyist who enjoys baking for family and friends. She created this blog to provide a comprehensive guide to baking for the everyday baker. Follow her on Reddit, Pinterest, Tumblr, Facebook or become a member of the Blabby Gabby community to get the latest information where she will discuss fundamentals, recipes, historical facts or other content related to baking quick breads, yeast breads and pastries.
Disclosure: Please note that some of the links in the article below are affiliate links. Other links are internal links that connect you to in-depth content, within the blog, that relate to the topic of discussion. The affiliate links are no additional cost to you, and I’ll earn a commission if you decide to use one of the affiliate links listed in the article for your personal use. Know that my goal is to provide you with quality content and only recommend the products and services I’ve personally used, researched and stand behind. If you use one of the affiliate links, then the company will compensate me. This compensation helps me run this blog and keep my in-depth content free of charge for readers (like you).